Showing posts with label Free Patterns. Show all posts

Tuesday, September 12, 2017

Free Bib Pattern

free bib pattern

Lets face it, keeping baby faces clean is a full time job. Keeping their clothes clean doesn't have to be though. OK, maybe that's not true, cleaning baby clothes is definitely a full time job; but keeping drool and food off of them can be a bit easier. That's where bibs come in.
Baby bibs are really a necessity when it comes to making supplies for our little ones. They can be pretty expensive to purchase, but when you make them yourself, they can cost next to nothing!
Lets get started.


bib patternbib pattern

To begin making baby bibs, you'll need to make a plan. 

Which bibs do you need to make? What phase is your baby in and going to be in soon? Take a look at the checklist below to see what you need to have in your bib arsenal.
  • The Drool Bib
    • 0-6 months (for when your baby is in the drooling phase)
  • The Cereal Bib
    • 4-8 months (for when your baby is starting baby food)
  • The Shoulder Snap Bib
    • 4-8 months (similar to the cereal bib, but snap is on the shoulder)
  • The Dinner Bib
    • 5 months - 4 years (for when your child is eating solid foods)
  • The Spaghetti Bib
    • 4 months - 4 years (A large bib with a snapping pocket for messy meals)

How many bibs do I need to have?

This is a real question that really depends on a few factors. 
First factor is your individual baby. If your baby is a drooler, and you make drool bibs, you might get away with having only one per day. But if your baby drools excessively, you'll want to change the bib 4-5 times a day. 
Second factor is how often are you washing? If you wash your baby's clothing and bedding separately from the rest of the family's, then you might only wash it once a week. In that case, you'll need more bibs than if you wash them with the rest of the family's laundry. 

What's someone to do who doesn't have a baby yet? 
I'd start with making 3 of each type of bib. Once the baby comes, you'll get a better idea of what your needs are. When you reach the stage where you want the baby to start using bibs, you'll have a desire and time to do something at your sewing machine. Don't feel like you need to rush to get it all done before the baby arrives.
bib pattern
5 baby bibs that coordinate make a great baby gift!


How to make baby bibs as a gift?

Making baby bibs as a gift is easy and fun! For a gift, I usually make one of each type. That's a bundle of 5 bibs that goes from birth to 4 years old. If you make the bibs in coordinating colors and fabrics, it is a pleasure to give the gift, and even more of a pleasure to open!


bib pattern

So how do I make a baby bib?

I have a sewing pattern for the baby bibs here
If you want even more of a visual, I have free bib making class with two of my daughters while we made a few of these bibs. View the free bib video below.


Don't forget to get the printable bib sewing pattern for the template and the step by step tutorial.

Happy sewing!


Wednesday, June 15, 2016

How I made my crib skirt from a sheet

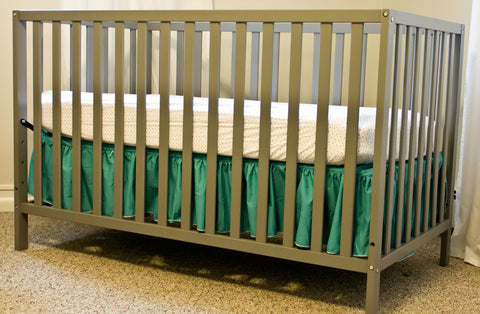
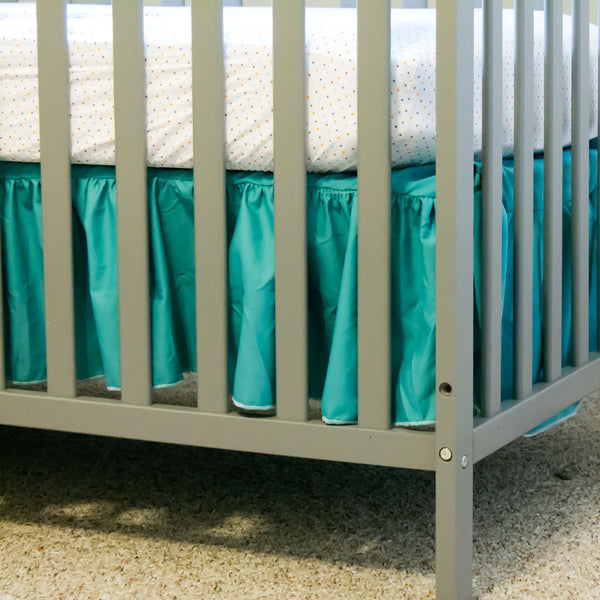
This is a simple tutorial on how I made my crib skirt from a sheet. It's a ruffled skirt that fits any crib but I'll tell you some hints on how you can tailor yours to fit your needs. This could be for a beginner, but I don't explain the basting or hemming process. :)
how to make a ruffled crib skirt
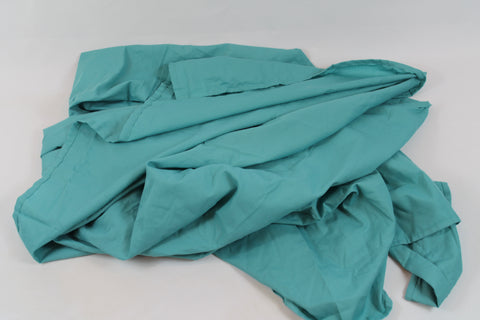
Step 1. I started with a twin size sheet. It measured 66x96". I threw it in the dryer to get the wrinkles out and drew a diagram on how I wanted to cut it.
crib skirt tutorial step 1

Step 2. I chose to tear it instead of cutting it. It was super fast. The first thing that I did was tear off all of the hems.
crib skirt tutorial step 2

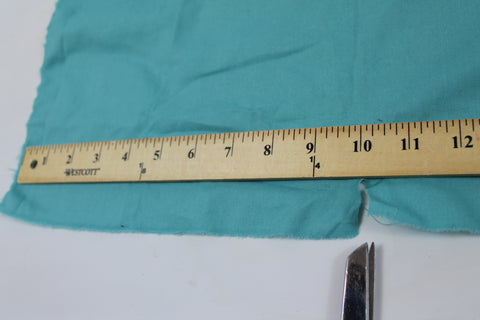
Step 3. Cut (or tear) the pieces.
My perfect length for the crib skirt was 9". So I started with a 10" length. This saves room for 1/2" worth of hemming or sewing on each side. If you want your skirt longer or shorter, adjust as necessary.

Cut 5, 10" x 60"  pieces (60" give or take a few) for the skirt
Cut 1, 28.5" x 53" piece for the body
Here is the sheet cutting diagram.

crib skirt tutorial step 3

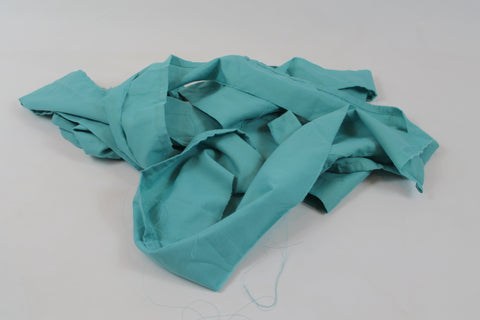
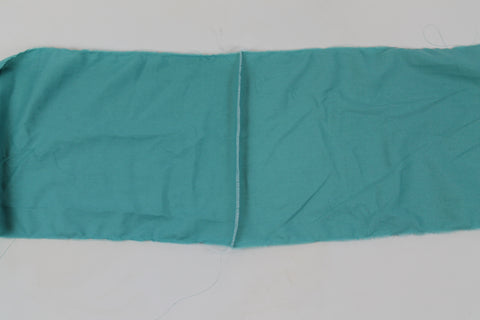
Step 4: Attach the 10x60" strips together on the 10" ends. This will make a verrrrrrrrry long strip.
crib skirt tutorial step 4

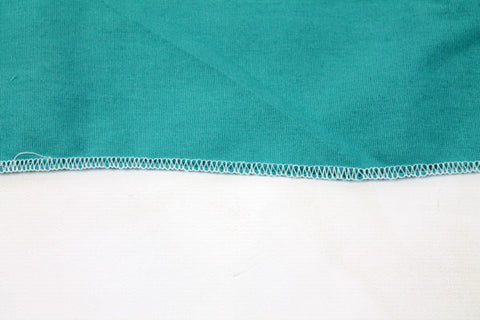
Step 5: Hem or serge one long edge.
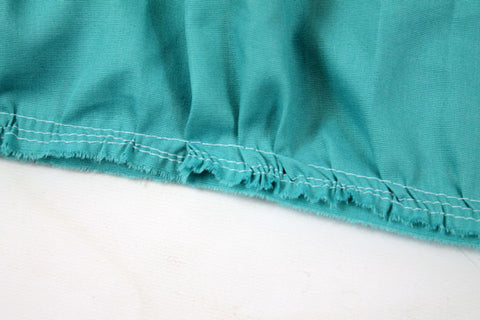
I chose to serge mine with a rolled hem because I like the look of the contrasting white fabric for my nursery. You could easily just make a small hem.
crib skirt tutorial

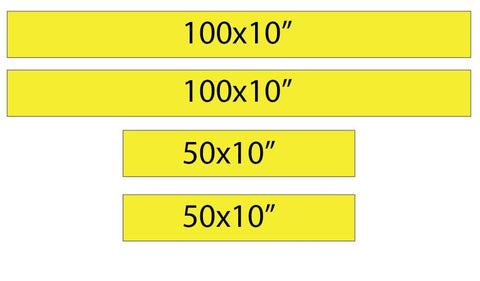
Step 6: Cut your pieces. The total length of your long strip should be a little more than about 300 inches.
Cut 2, 100" strips and 2, 50" strips from the long strip. Discard any remaining strip.

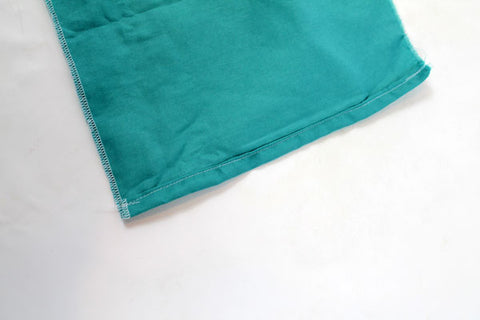
Step 7:
Hem the 10" sides of each of the 4 strips.
hemmed side of crib skirt

Step 8:
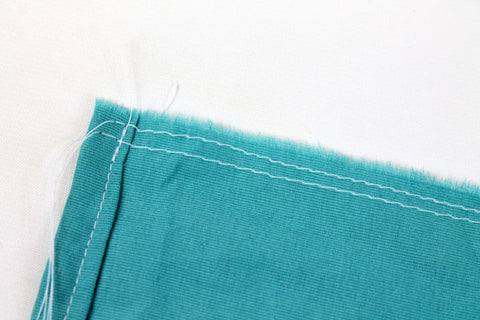
Sew a double basting stitch on each 'raw' edge of each short, 50" strips.
double basted raw edge of crib skirt

Step 9:
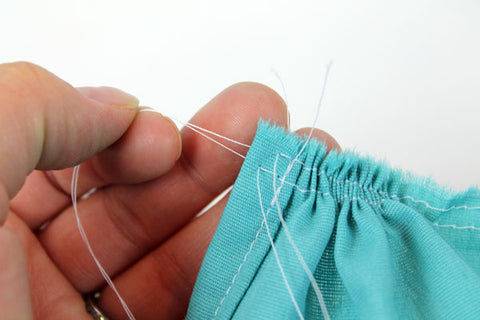
Gather the raw edge of the 50" strips by pulling on the bobbin threads of the basted stitches.
gathering crib skirt ruffle

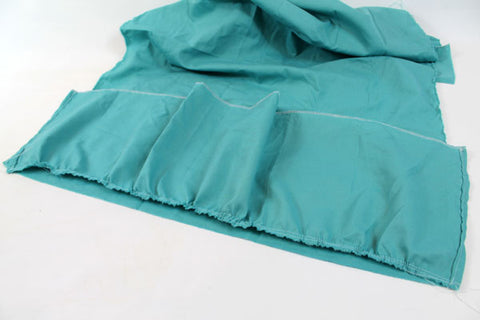
Step 10: Lay the ruffled edge onto the 53" edge of the body piece. This will help determine how short to make the ruffled edge.
ruffling the edge of crib skirt

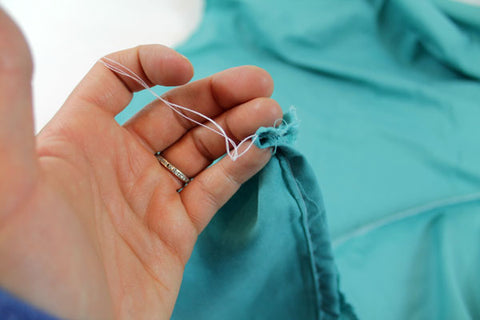
Step 11: Tie the threads once the gathers are at the proper length. Then evenly disperse the gathers.
tying ends of gathers

Step 12. Sew the ruffled edge of the skirt onto the raw edge of the body piece. I sewed mine so that none of the gathered stitches would show. It's pretty rough because I didn't pin it. I figured with a cute ruffled edge, you wouldn't notice if it was a tad uneven.
sew on the ruffles

Step 13. After the short strip of ruffles are done, do the large strips of ruffles.
When you attach the large strips to the body piece, overlap the small strips about 1/2-1" so that there won't be any raw edges when you are finished.


Step 14. Snip all of your strings and enjoy having a super oober cute ruffled crib skirt!
ruffled crib skirt diy

Monday, May 9, 2016

Recycle a t-shirt into a baby shirt

It's so close to summer. My Elijah has been proving to be a terror on his wardrobe. This child wants to play hard so I need to make him some clothes that won't break my heart if he ruins them.

My inner "freak out" is usually associated with expensive clothing, or clothes that take me a while to make. So I am combating that by making him shorts and cut offs out of t-shirts! In fact, I found a new way to whip out my baby cut off t-shirt even faster by recycling the binding of the existing t-shirt. I even made a video for you. :)


**Please know that my tutorial in the baby cut off tank top pattern DOES show you how to properly attach binding to the neckline, as well as finish any edges. This video is simply a pattern adaption to whip out my sweetheart some play clothes. 


Saturday, April 23, 2016

What is the best cloth diaper?

Are you ready for me to tell you what the best cloth diaper is? I'm talking best of all time. The reason that I love fluff....the reason that I don't mind washing them and hanging them meticulously on the clothesline. Are you ready?

I recently have been on a diaper kick. My current, and unexpected pregnancy has thrown me for a loop, and I realized that I needed a new diapering solution. I had an entire stash of one size pockets, and although I like them incredibly, they weren't holding up to my expectation.


Here's my list of what I needed in a diaper:
  1. A cloth diaper that would get clean easily with a front loader washing machine.
  2. A cloth diaper that I wouldn't hate washing out in the toilet
  3. A diaper that I could recycle my huge stack of t-shirts into
  4. A diaper that's cheap to make. Making your own is cheaper....but still expensive sometimes
  5. A diaper that was fast to make. I make my own, but don't have time to - really!
  6. A diaper that the elastic/snaps would last a long time
  7. A diaper that would fit my upcoming newborn AND my 1 yr old

I have seen and read countless articles on how to use a front loader washing machine with cloth diapers. I've tried all of the tactics. When we moved in August to our new home and traded in 'old faithful' washing machine for a beautiful front loading machine, my cloth diapering adventures became a nightmare. I was stricken with soap filled, rash causing, stink laden, awful cloth diapers. I hated it. I began to hate cloth diapers entirely and put them away. I never got the stink to go away unless I washed them BY HAND in the bathtub. No thank you.

What I needed was something that was natural fibers that would open up to get clean. My microfiber inserts were 2-3 layers thick, and the alova suede just had an odor that I couldn't remove. Blast.
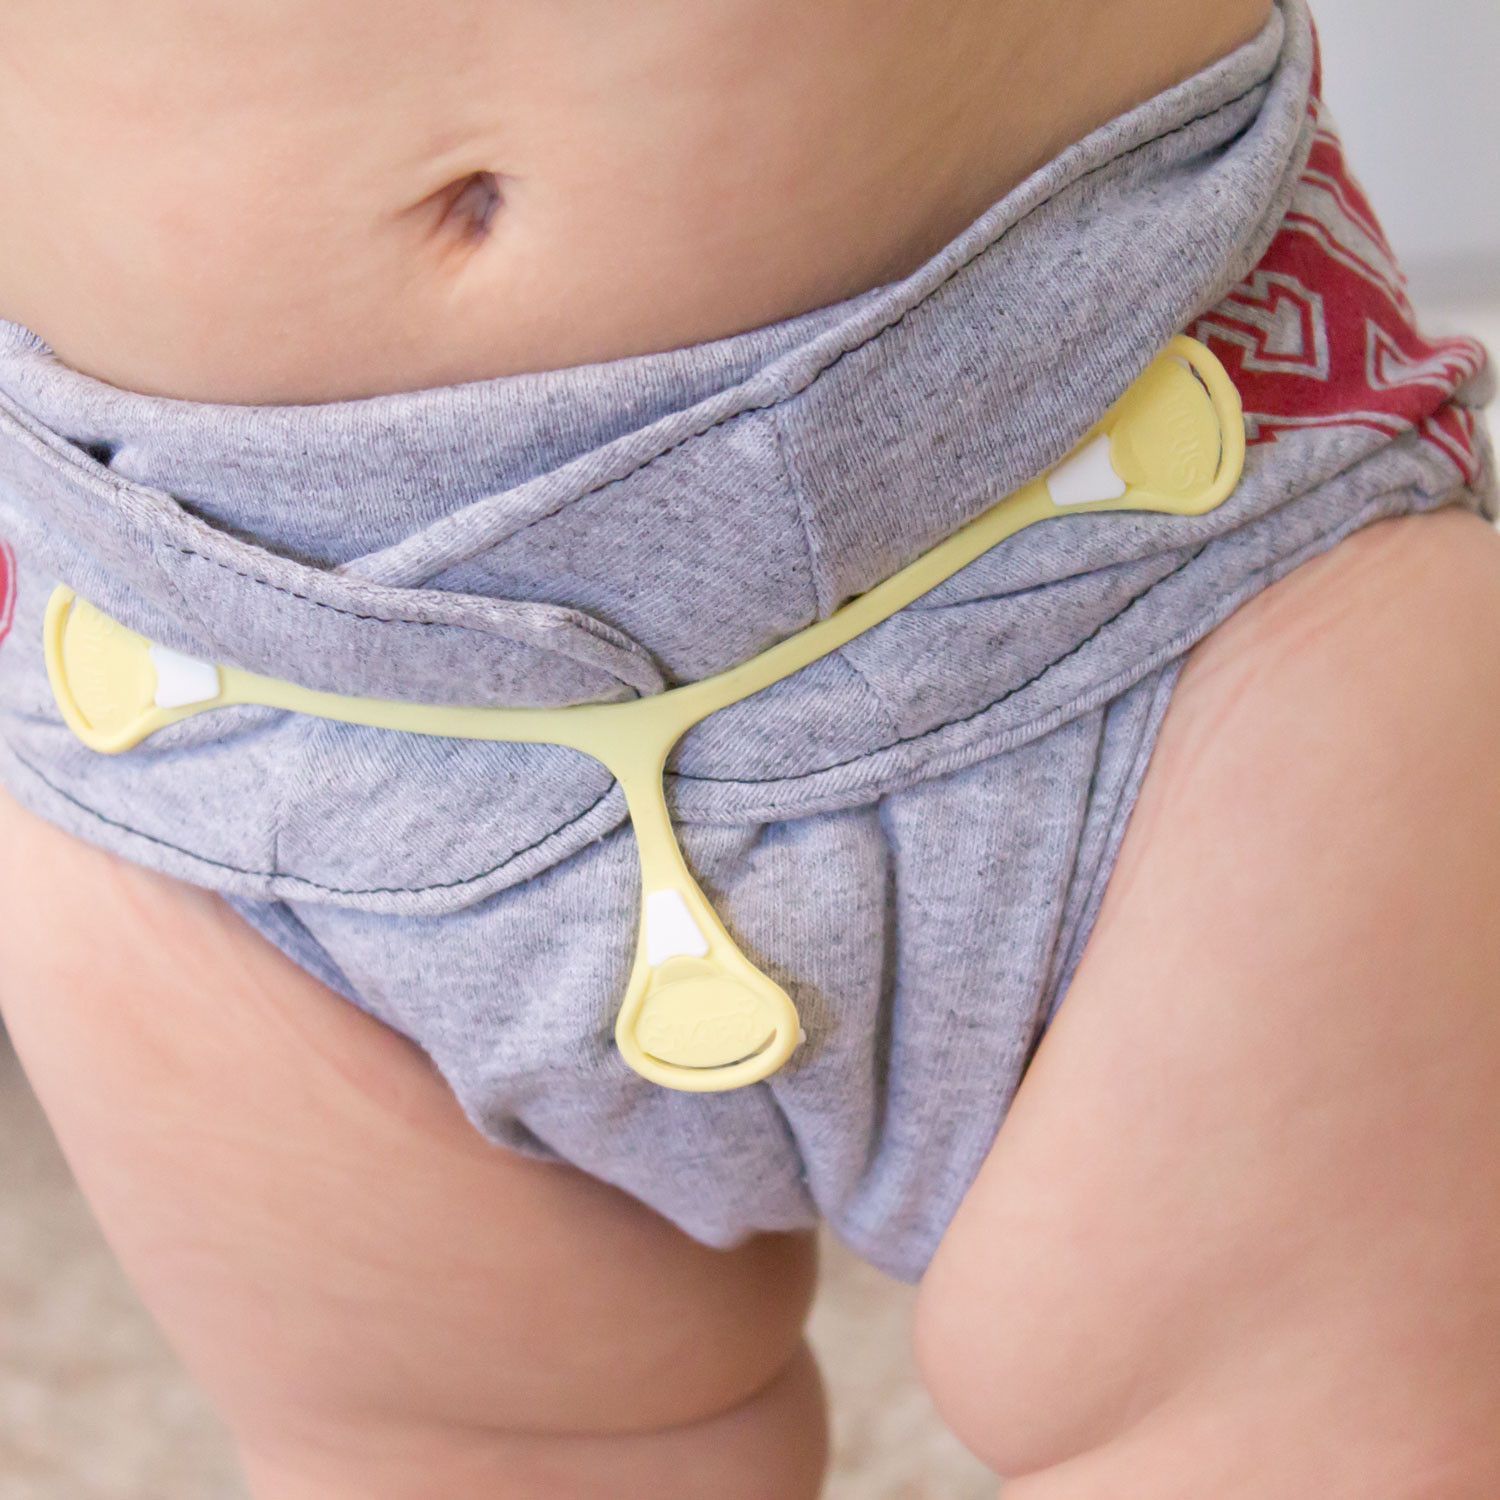
I started by using a diaper cover that I had made for claire 3 years ago. Yes, I put a zebra print on my son. He didn't care. :) I paired it with a prefold that I had laying around. To my suprise, I liked it. It c got clean. And I could re-use the cover. I used a snappi to close it, but it was hard to close around my tubby Elijah. Once he started to poop in them, I didn't like this plan so much. The poop came right out of the prefold and on my lovely zebra print. No thanks. So much for this plan. I wanted something inside that would keep my diaper cover semi clean....not plastered in poo!
Next I tried a contoured diaper. I had whipped up one of these in no time. I wanted it to work SO SO SO bad because it was fast! Nope. Poo-splosion happened and I had a royal mess to dip in the toilet. yuck.
I think it's fair to mention that the reason I kept on this idea, was because I knew that if I could get the cover OFF of the diaper, and any inserts/soakers removable, I would have a cleaner diaper. But the process of GETTING the diaper to the washing machine was making me gag.
That's when I started looking at the rest of my list. Maybe I could find a different solution? That's when I remembered my giant box of t-shirts. I wanted to recycle them, so I started to cut them up into 'prefolds'. I just layed them in the diaper covers  like the prefolds, which didn't help my gagging issue at all. And I tried to make them into contoured diapers too....but it wasn't fixing the issue. I wanted to try elastic in the legs, but I DID NOT want to spend 45 minutes per diaper to make them, so I waited a very very very long time. I finally decided to test it.  I put elastic in the legs of my contoured diapers and VOILA I had a poop-holding piece of fantasticness. It literally took me 8 minutes, the FIRST time I made one. I hadn't thought about the time factor being from the snaps - but by not having snaps on these, I can whip them out incredibly quickly.
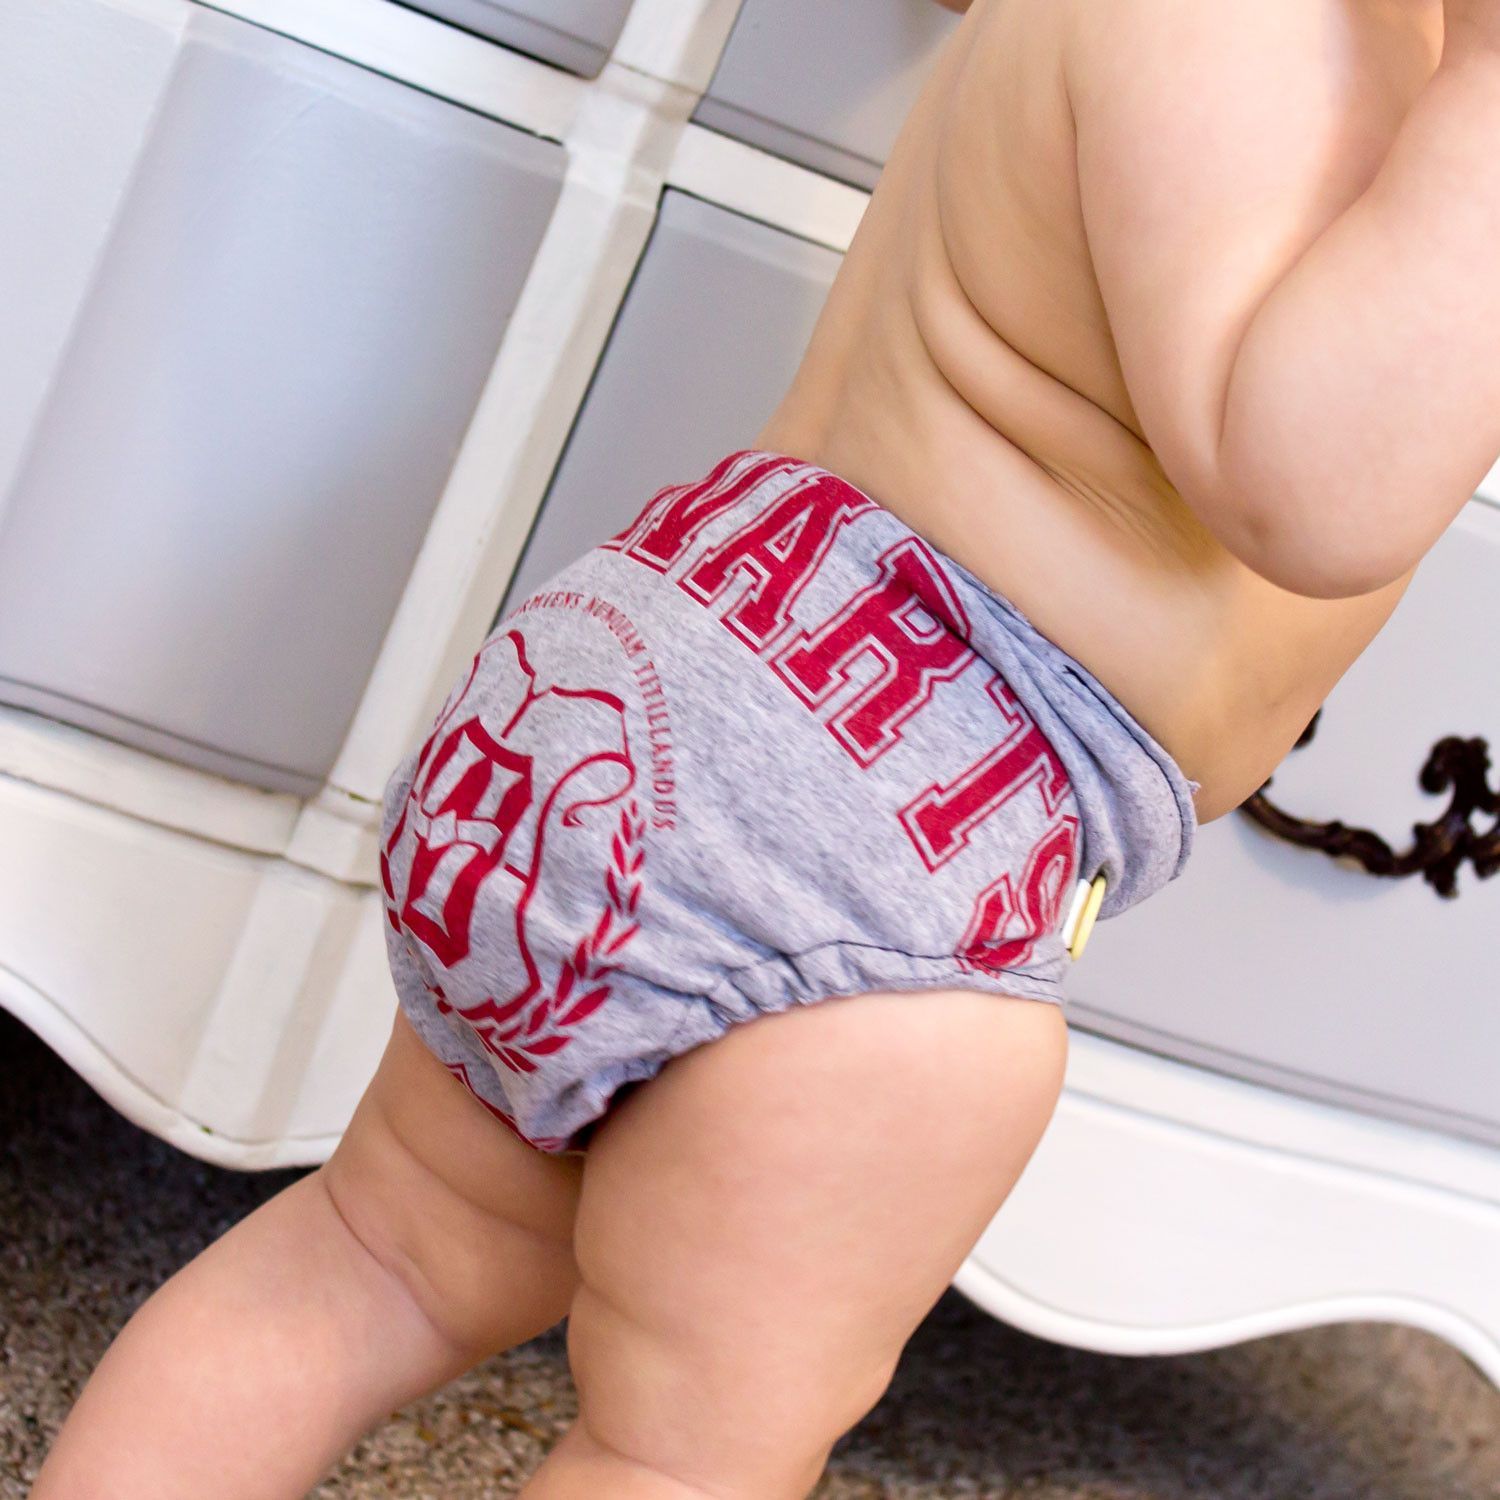
By pairing this fitted diaper with a one size diaper cover, I officially have my ultimate favorite diaper.

So what about the rest of my list? Let me dive into my list of needs and how this diaper answers them all!

A cloth diaper that gets clean with a front loader

The fitted diaper is made of two layers. I leave the middle open so that I can (and do) add inserts. I literally take the bottom of a t-shirt and cut it off - then I fold it. These make the perfect inserts because they come out in the wash and open up. Even the small amount of water that is in the front loading washing machine is able to get these babies clean. Because they are a natural fiber (cotton) instead of microfiber or alova, they don't need as much agitating to get sparkly clean.

A cloth diaper that's easy to wash in the toilet

Because this diaper is separate from the PUL, I don't hate washing it in the toilet to get solids out. It seems that I hate rinsing any cloth diaper that has PUL in it because the PUL either splashes water at me, or holds water while I'm trying to rinse....thus, making it impossible to get all the yuck off. I also don't mind washing it in the toilet because it is very rare that anything gets on the cover, so I only have ONE thing to rinse off (as apposed to the prefold AND the cover during my testing phase).


A diaper that I can recycle t-shirts into

My initial thought with this, was to simply use the t-shirts as a soaker/insert. But I love that I can use a t-shirt for BOTH the diaper AND the insert. What a great way to recycle!


A diaper that's cheap make 

I make my own cloth diapers and I wanted one that was cheap to make. Using the t-shirts for both the diaper and the insert takes a huge cut off the cost. Plus the one size diaper cover means that I only have to make a few of those as well....from newborn to toddler. A set of fitted diapers (20 or so) and 6 covers will literally cost less than $50!

A cloth diaper that's fast to make 

Ok, I'm going to be honest. I love to sew, but I hate sewing things repeatedly. I want to be creative and be done with it. But when I sew cloth diapers, that normally take 45-60 minutes to make, I get overwhelmed after 2. I needed something that was fast to make, so that I could actually accomplish it! This diaper and covers do that. I can literally whip one diaper out in 8 minutes. A cloth diaper cover still takes about 45 minutes to make (because of the snaps), but in all, for a set of 20 diapers and 6 covers, Total time is less than 8 hours. That's something that I can come back to without feeling overwhelmed!


A diaper that will last a long time

I needed a diaper that would last a long time. There's nothing worse than having a beautiful stack of cloth diapers, that quickly turn into nasty velcro/elastic/PUL that are un-usable.
This diaper design keeps the important cover with the elastic and PUL in best shape of any other diapering system. Because you rarely have to wash them. The elastics in the fitted diapers might give out sooner than the covers, but at 8 minutes to make, I am ok replacing one or two eventually.

A diaper that will fit all sizes

This combines my 'fast to make' and 'cheap to make'. I needed something that would fit all baby sizes so that I can get away with as little sewing as possible. This diaper has the answer. Because it fits all sizes from newborn to 'big', I don't have to worry about making a separate stash for each baby.


I hope this helps you make a great decision on how to cloth diaper your baby. Enjoy the fitted diaper pattern for free. :)

Please also check out my cloth diaper cover pattern. It fits this fitted diaper perfectly! It's a no fuss, less time consuming, wipeable, one size design. You'll love it!

Monday, March 14, 2016

How to fix a plastic snap

I love my snap press. It makes me happy to attach great snaps to anything. Whether a diaper, or clothes, I know that the snaps will outlive the item that I'm making. Unfortunately I tend to fly through my projects sometimes, and that can make for some 'snappy' disasters. I frequently attach a snap backwards or in the wrong place. Then I'm stuck with it. What makes matters worse, is that snap attachment is almost always the last step to a project!
I have a new solution! I made a quicky tutorial video to show off the new way that I'm removing messed up snaps.

If you can't watch the video, here's the quick version.
My husband had a soldering iron in the garage that never got used. It has a pointy tip on the end and it gets really hot! If your husband doesn't have one, they are very cheap on amazon:


If you put the snap on wrong, simply heat up the soldering iron and put the pointy tip into the snap. It will melt. While it's hot, pull the snap part. It's that simple! It comes right off! Just be careful not to lay that soldering iron on anything in your sewing room or you'll have a melted or burned mess on your hands.


Monday, November 25, 2013

Emma Flower Pattern Tutorial #1


how to make a flower headband

When I put together the Emma Collection, I made a couple flower headbands that I wanted to share the patterns with you! The flower headband pattern is available on my website for free in pdf format. There are printable pattern pieces for the flower pieces as well as an elastic size chart. The free flower headband pattern pdf can be found here.


Also in the Emma collection are the Fitted baby shirt pattern

and the Baby Leggings Pattern

and the long sleeve a line baby dress pattern


Okay, on to the free flower pattern. :)

1. Using Pattern, Cut one circle and one rectangle.
The pattern pieces can be found here.

2. Use the hand needle and thread to sew around entire perimeter of the circle piece. Sew each stitch about 1/2” long and about 1/8” from the edge of the fabric. Do not tie the ends of the thread.
Another shot of step 2.

3.Pull the ends of the thread to ‘cinch’ the circle into a “puff”.

4. Tie the thread ends together while they are still tightly cinched.

5. Adjust the puff so that the cinched section is on the top center of the puff. 
6. Cut one rectangle using pattern piece. Fold in half as shown and sew the open ends together.  Knot the ends.

7.Fold the strip inside of itself like above. Make sure that the sewn ends are hidden on the inside.

8. Sew the open edge closed. Sew with 1/2” stitches that are about 1/8” from the edge. Don’t knot the ends.

9. Cut slits on the folded edge. Cut them about 1/2” apart. Be careful not to cut the thread.

10. Pull the threads tight to cinch the strip into a flower.

11. Tie the ends of thread and adjust the flower to lay flat.

12. Place a dab of hot glue onto the center of the “puff”.

13. Place the flower on top of the hot glue. Allow the glue to cool, then sew one or two stitches through both pieces and tie securely. (I’m sorry there isn’t a photo of this).

14. Place a dab of hot glue into the center of the flower.

15. Fold a couple loops (petals) over the hot glue to hide the center. This is optional depending on your preference.

16. If you are making a headband, cut the elastic to appropriate length. Find elastic measurements on pattern piece.
The headband measurements can be found here.

17. Overlap the ends of elastic 1/2” and sew them together.

18. Turn the entire piece upside down. Place a strip of glue where the elastic will lay if you are making a headband.

19. Put the elastic on top of the glue. Press it firmly into place.

20. Cut a strip of scrap fabric that is approx 1 x 2”. 

21. Carefully place the hot glue onto the elastic strip. Press firmly into place and trim the edges of the scrap piece to fit the head piece.

Make a few more to match more outfits, then check out the rest of the Emma Collection

flower headband pattern
Easy peasy free flower pattern.